Air Filter Replacement & Air Filter Housing Removal
The Air filter seen in this section only requires replacing every four years, however if you like me would like it changed at more regular intervals then replacing it couldn't be easier.
Replacing the air filter part number MA166 094 0004/010607 on the 160/2002/ model Cost Aug.04 £12.20 inclusive. Incidentally the number on the filter element if different from the number on your invoice. There's plenty of room and no hassle and you can be assured that your engine is breathing freely without the need to draw air through a partially blocked filter, with fuel at today's prices its essential that we achieve max miles per gallon, litre if you prefer one of the ways of achieving this is to ensure the air filter is kept clean.
If you have your car serviced at a garage then there is no need to touch the air filter which will be replaced after four years! , however those of us that are DIY orientated will almost certainly want to remove the filter and blow it clean with an airline to ensure maximum cleanliness or replace it. A blocked air filter can cause all sorts of problems and cause the car to run rich, so there are positive benefits to keeping it clean.
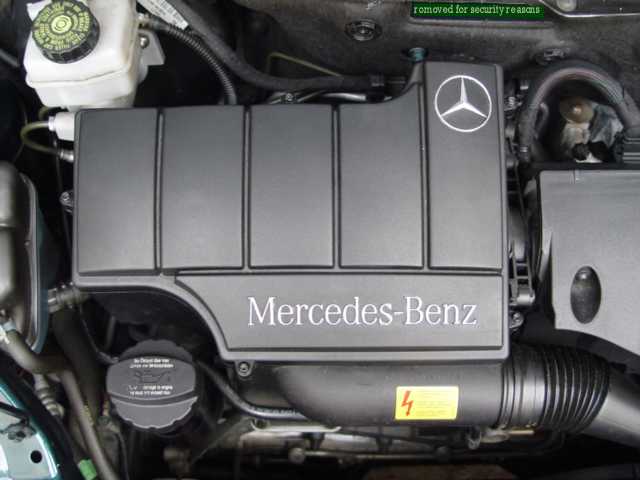
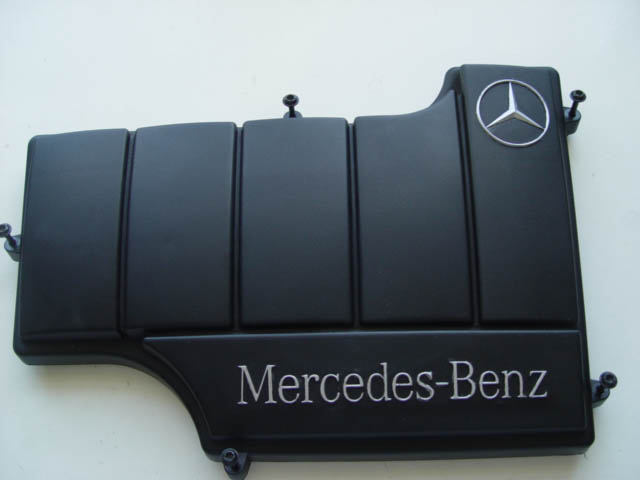
To access the filter simply unscrew the five star drive screws, which will be retained in the cover, lift off the lid, and if your looking for another little job you can always tart(embellish) the cover up a bit by highlighting the MB star and name.
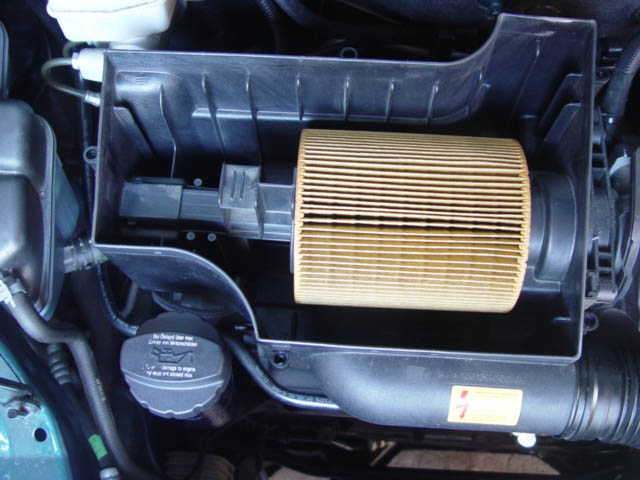
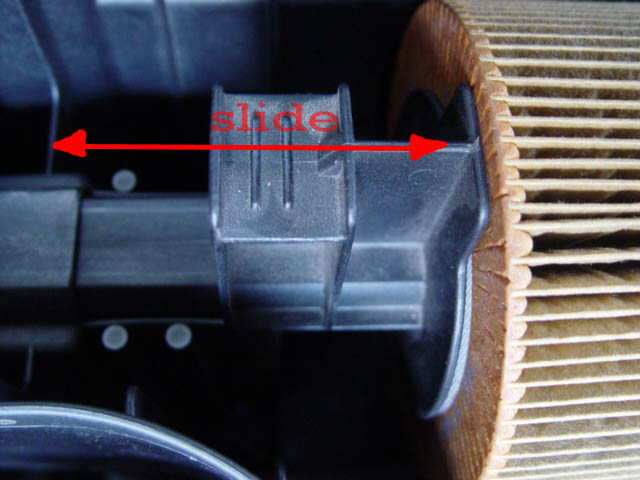
As can be seen the filter lays horizontally being held in place by two male projections, initially there appears no way of getting it out.
However further inspection reveals that the left hand male projection slides to allow the filter to be removed for cleaning or replacement.
When it comes to replacing your filter, remember to vacuum out the housing where superficial dust collects. Not a lot of point putting a new filter into a contaminated housing.
Do not use an airline and if you are tempted do not blow high pressure air towards the Air mass sensors these are glass reeds and will be damaged if not destroyed by high pressure air flow from a compressor.
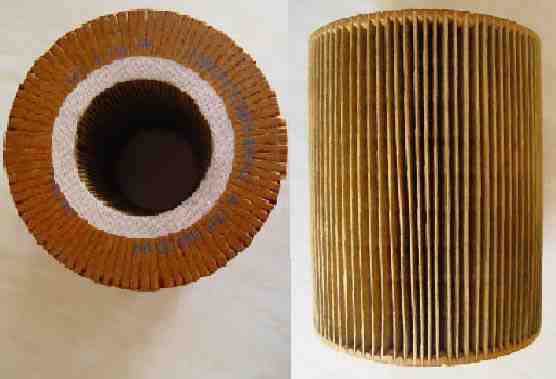
Choice of replacement, if the car is still under warranty its unlikely that you will be changing the filter, however there is no reason why you shouldn't blow it off as was explained earlier.
If your car is out of service warranty then Coopers Air filters make one for this car and it is fully covered by their warranty to do every thing that the MB filter will do. http://www.master-filtration.co.uk/coopers.htm
However I have stuck with the MB filter it is good quality and will protect the air mass sensor from air particulate damage.
Removing the Air filter housing from the car.
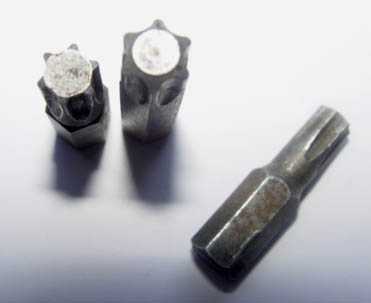
Should you need to remove the air filter housing from the car to gain access to other components , securing clips on fuel lines for instance then the job is a simple task albeit you do need a T25 Torx bit and medium size Phillips screwdriver.
No other tools are required. Procedure for Removal
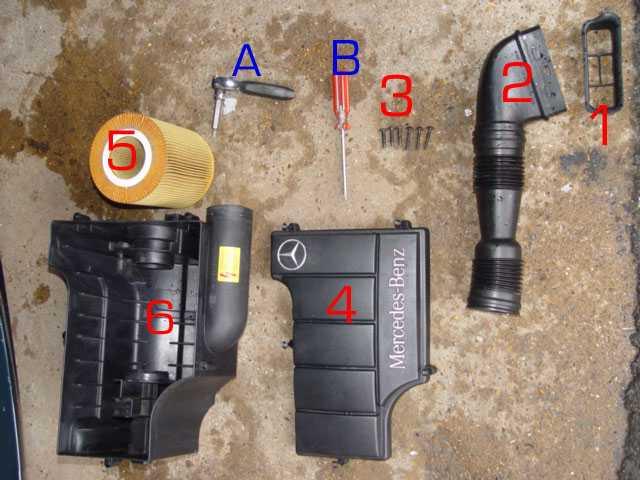
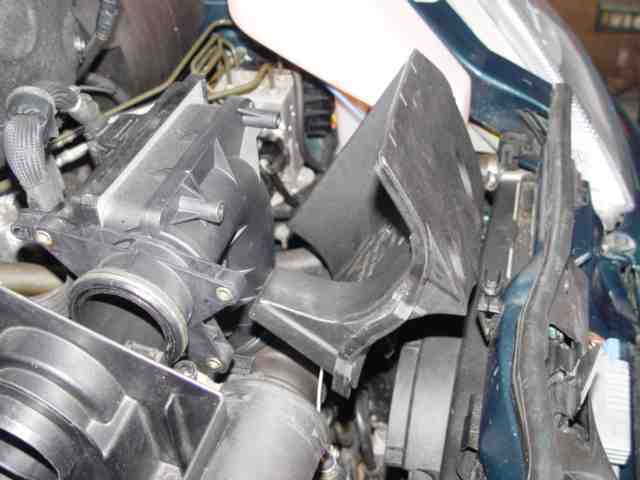
Remove the air scoop and flexible plastic air intake pipe from the front valance. Items
1 & 2
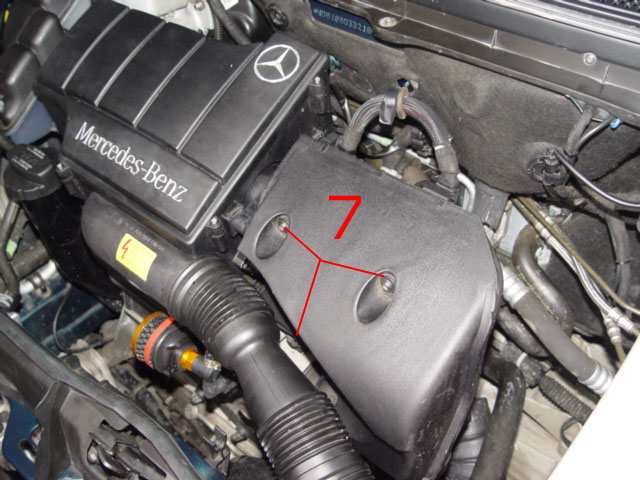
Using a T25 Torx bit remove the filter housing cover
4, (the screws will be retained in the lid) Item
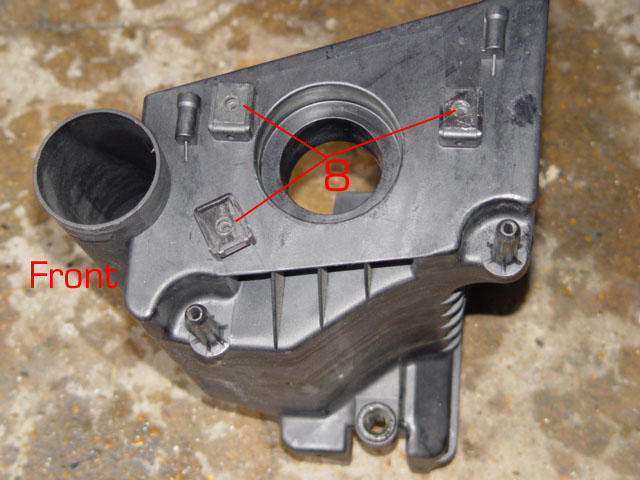
Remove the filter
5
as directed above.
Using a T25 Torx bit remove the three screws from the resonator cover, Do not remove from ECU
Remove three Phillips screws from N/Side end of filter housing.
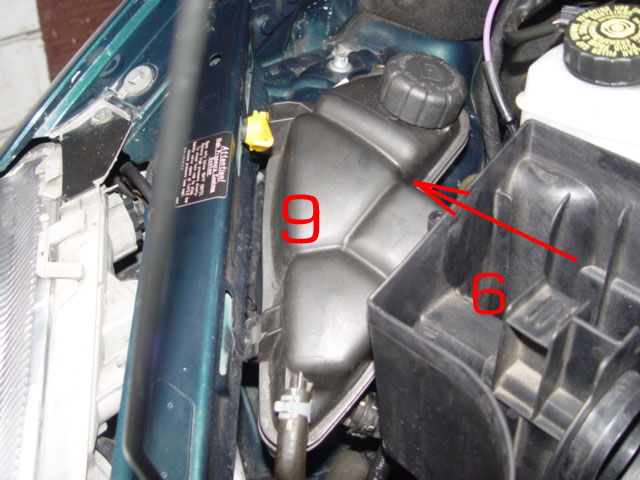
Remove the coolant reservoir
9
from its support by lifting the yellow lever, lay to one side
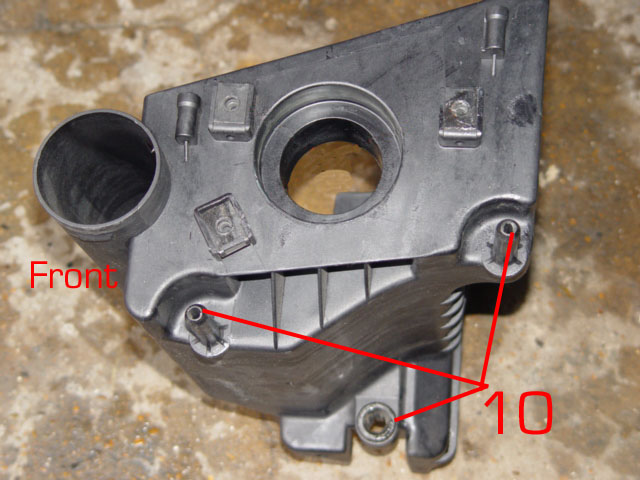
Support the coolant reservoir while sliding the air filter housing from its three location lugs
6
move towards the O/side until the housing can be lifted from the engine bay.
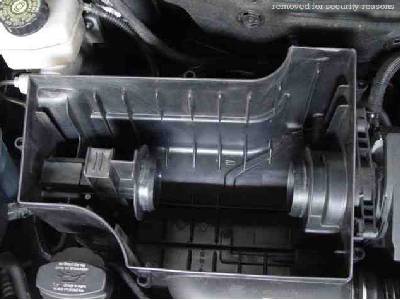
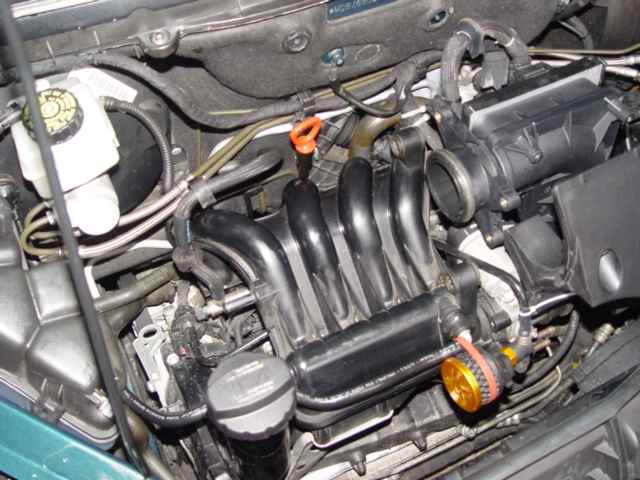
With the Air filter housing out of the way the engine looks totally different , more like the W169 engine layout and the components become far more accessible.
Replace all components in reverse order, ensuing that the three location guides are correctly positioned before sliding the housing back towards the ECU.
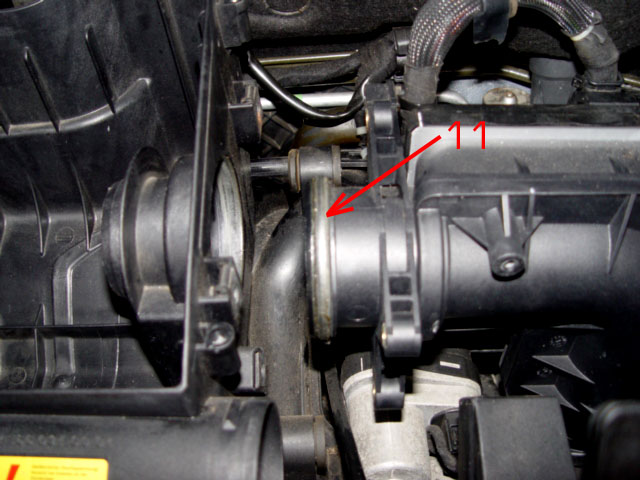
To ensure a gas tight seal, I lightly greased the large 'O' ring 11 situated on the neck of the ECU/MAFS module. I also took the opportunity to ensure that there were no pipes or loom casing being damaged by abrasion.