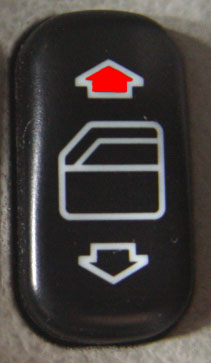
 direction until the widow is fully closed.
*Max permissible Gross vehicle Weight 1500.(kg)1.52 ton
*Max permissible front axle load 745(kg)14.6 cwt
*Max permissible rear axle load
*Trailer Towing only 2. Braked 3 Max permissible rear axle load 810 (kg)16 cwt
*Perm trailer (Un-braked) weight plus draw bar nose weight 400(kg)7.9 cwt
*Maximum luggage compartment payload .4. 100( Kg)2.cwt
*Max roof load 50(kg)1.cwt
Key to numbers
*1 = Un-laden weight as per EC Directive 92/2 comprising un-laden weight(DIN70020) plus driver(68Kg - 10 Stone 5lbs)luggage (7Kg - 15.1/2lbs) and all fluids (tank 90%full) Optional extras will increase the cars un-laden weight and therefore lower the maximum payload.
*2.Rear axle load increased when trailer towing in accordance with council Directive 92/21/EEC as amended by 95/48/EC
*3 Vehicles with manual transmission 1000(Kg) 19.6 cwt>
*4 with rear seats installed.
Hand book pages 357/8 editorial status 30.04.2001.
Vehicle dimensions (mm) A160 SWB *Length 3606 (mm) 11'8 1/2"
* Width 1719(mm) 5'6 1/2"
* Height 1 1575(mm) 5'1 1/2"
*Wheelbase 2423 (mm) 8'0"
1 At un-laden vehicle weight as per DIN 70020.
A160 LWB
*Length 3776 (mm) 12'3"
*Width 1719 (mm) 5'6 1/2"
*Height (1) 1589 (mm) 8'5 1/2" 1/2" *Wheelbase 2593(mm) 5'7 3/4"
1 At un-laden vehicle weight as per DIN70020.
Imperial weights are approximate.
Engine
* Rated output KW/bhp 75/102 @ engine speed of 5250 rpm
* Rated Torque 150 (Nm)(33.72Ft lbs) @ engine speed 4000 rpm.
*Number of cylinders 4
* Valves per cylinder 2
*Displacement (cm3)1598 (97.5(inch3) Max engine speed 6000 rpm.
Acceleration
5 speed manual gearbox
*0 to 100 Km/h 10.8 sec/approx speed 68.13mph
Maximum Speeds 5 Speed manual transmission. *1st gear 48Km 30mph
*2nd gear 81Km 50.33
*3rd gear 124Km 77mph
*4th gear 178Km 110.6mph
*5th gear 180Km 111.85mph
Setting the Clock
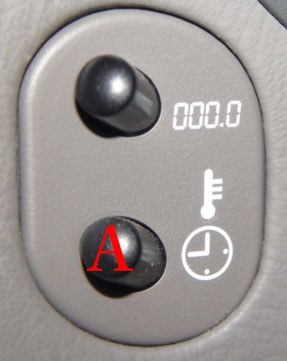
To set the clock both of the features shown are used.:-
*Press and hold Button marked A
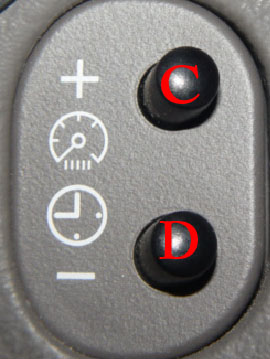
*When the numerals in the hour display flash, correct the hour display using buttons C or D + or -
* To set the minutes, briefly press button A *The minute display will flash, to correct use buttons C or D + or -
*When the clock is correct briefly press button A
* The time displayed should now be correct.
Activating display
 *Information such as time , outside temperature, remaining distance to next service, trip meter recording or oil level can be called up even when the vehicle is stationary. The display is activated by
:-
* Turning the ignition key to position 1 or 2.in the ignition lock.
*Information such as time , outside temperature, remaining distance to next service, trip meter recording or oil level can be called up even when the vehicle is stationary. The display is activated by
:-
* Turning the ignition key to position 1 or 2.in the ignition lock.*Opening the drivers door.
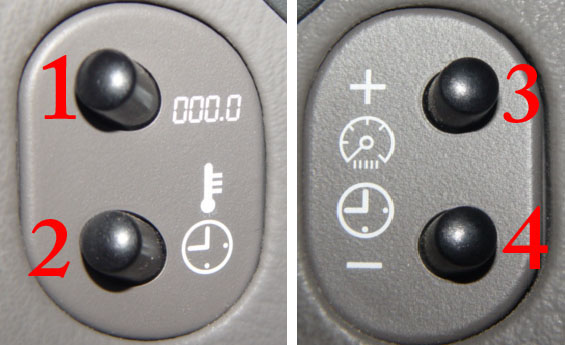
*Briefly pressing one of the buttons 1,2,3,or 4
*Switching on the vehicle lights
(The display switches off automatically after approx.30 secs.)
*The total mileage covered is shown when the display is activated
*To dim brighten the instrument lighting:-Press adjust button 3 or 4
*To call up the the trip meter briefly press button 1
* To display outside temperature, briefly press button 2
*When pressing button 1 the mileage along with a single or double spanner may also appear. Single spanner = 'A' Small service, double spanner = 'B' Larger service. The mileage indicating when the next service is due.
(The mileage displayed does not take into account the driving style and engine idle time which are deducted from the credited mileage as the service period nears, in the case of my car this accounted for a deduction of some 1500 miles from the credited figure.
Re-setting trip meter
Allows you to record the mileage on a given trip or record the mileage for a tank of fuel etc. * Open drivers door
* press and hold button marked 1 above.
Examples of display
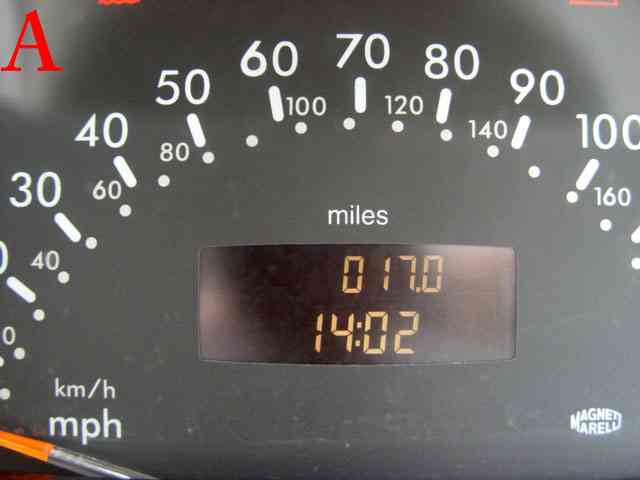
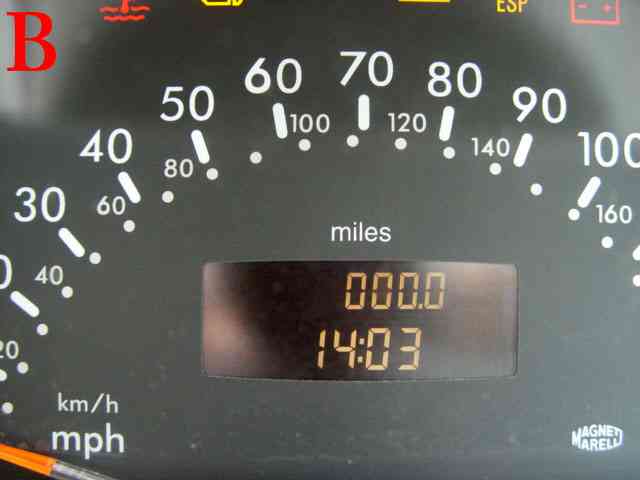
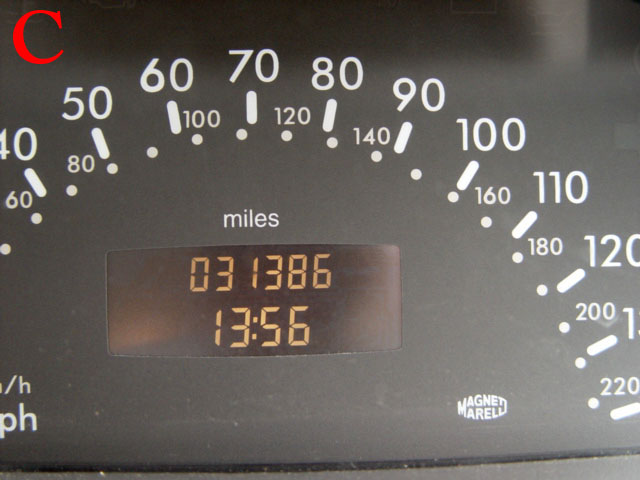
A Mileage trip recorded. B Trip zeroed. C Total mileage run.
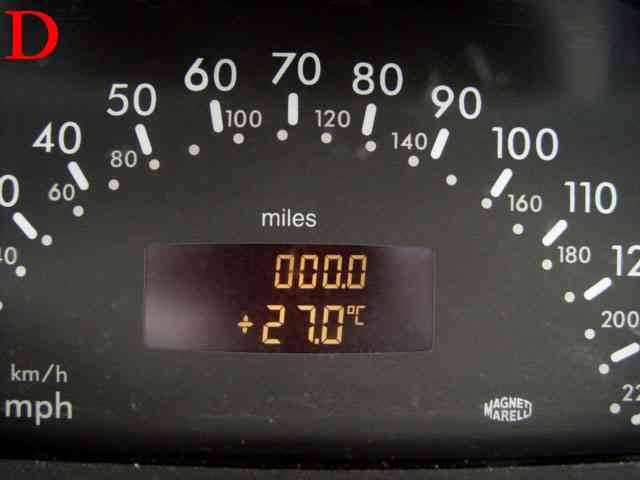
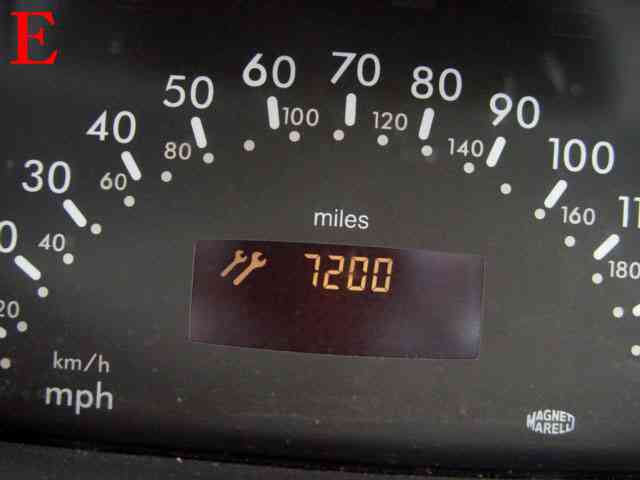

D Outside temperature display. E Next service due = 'B' Service in 7200 miles. F Checking oil from cabin.
To check the oil from the cabin. * The vehicle must be on level standing
* Check the oil about 5 minutes after stopping the engine which should have reached it is regular operating temperature.
*Turn the ignition key to position 2 in the ignition lock and wait for 10 secs until the oil can symbol appears with the dial clock
*press button one above twice (2) within one (1) second.
* symbols OK, 1.0L 1.5L or 2.0L will appear the numerals denote the amount of oil required
in the engine.
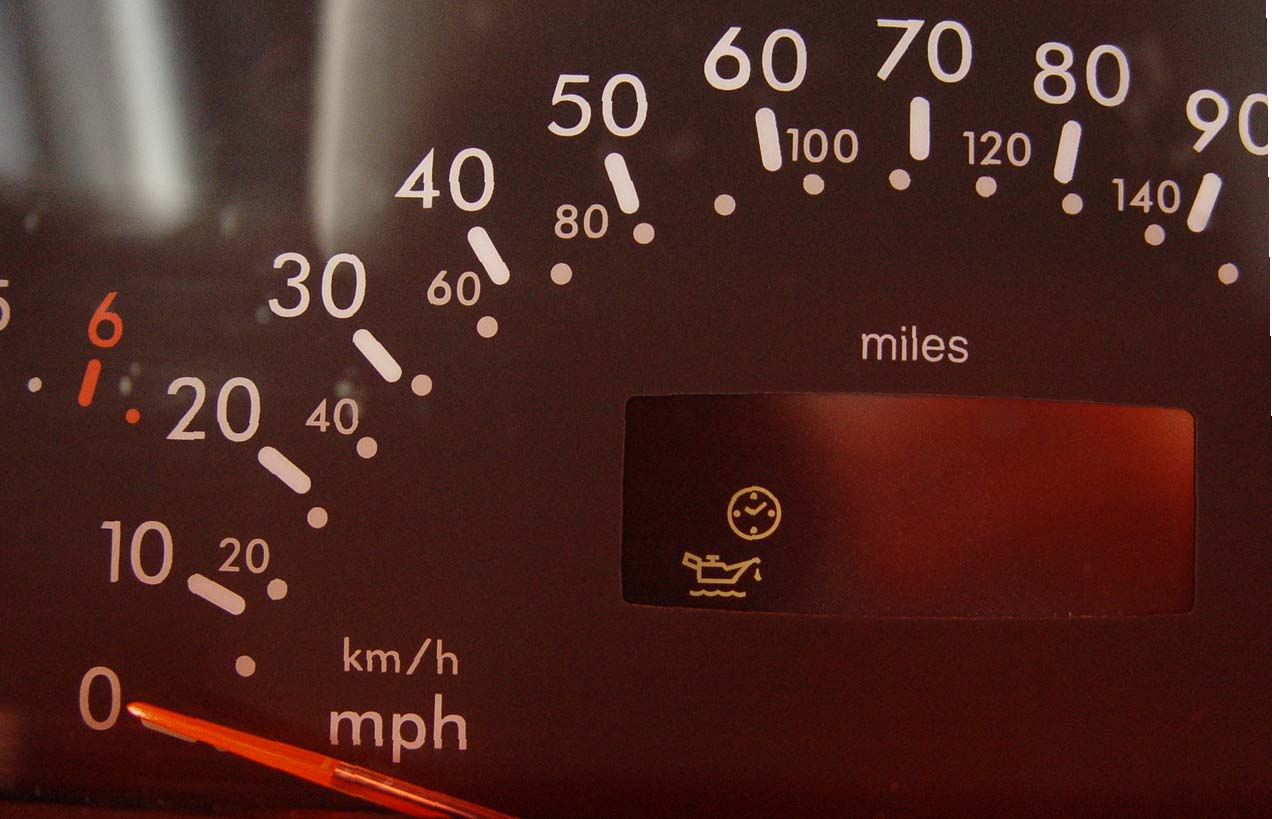 The two symbols oil can & clock show together, press button (1) = 000.0 twice within 1 second and the display will indicate the status of the oil level,
 This check would normally be done before starting the engine.
However if you start and then the stop the engine any attempt to read the oil level will fail. The clock will flash indicating that you need to allow more time to elapse before checking again.
(I for my part would always check the oil on the dip stick before putting oil into the engine. If the clock flashes as in the animated photo, leave the car for a least 5 mins before attempting to read the oil level again.
DO NOT OVERFILL )
If the engine sump is overfilled and indicator will show on the dash along with and audible warning the letter HI will appear. If should occur after a service as is more likely the case you are advised to return the car to the garage and ask for the level to be corrected . BUT check the oil level using the dip stick while the car is on level standing first. IF you overfilled it, use a piece of windscreen washer hose ,insert it down the dip stick hole into the sump and siphon the overfill out the warning will then cease
Capacities
*Engine oil capacity 4.5 ltrs (.989 gallons)
* Cooling system without Air Con. 5.5 ltrs (1.21 gallons)with air con.5.7 ltrs (1,25 gallons)
*(Corrosion inhibitor /antifreeze proportion - 37C (-34F) = 2.75ltrs (.65 gallon) (50%)
* - 45C(-49F) = 3.1 ltrs (.68 Gallon) (55%)
*Windscreen Washer all models 4.2 ltrs (.92gallon)
All models with heated windscreen washer reservoir 5.0 ltrs (1.01 Gallons)
* Fuel Tank approx 54.0 ltr (11.88 Gallons )of which 6.0 ltrs (1.32 Gallons)is reserve.
The information on this page has been copied from my A160/2001 handbook for the benefit of those who have not got handbooks.
All conversions carried out using this link:-Conversion tables.
Jump Starting This is what MB say in their handbook:-
*1 Never try to start the engine if the battery has frozen, thaw the battery first.
*2 Only use batteries with the same Voltage rating.
*3 Use jump leads of adequate cross-section, with insulated battery terminal clamps.
*4 Switch off all electrical consumers.
*5 Connect the positive terminals on the batteries together first.
*6 Run the donor vehicles engine at idling speed.
*7 Connect the negative terminals of the two batteries together with the jump lead.
Radio Code
Remember If your Radio is security code protected and the need arises for the battery to be disconnected, you will need to re-insert the radio code to get the radio working
Where a battery is found to be dead the radio code will already have been deleted from the system in such cases the code will need to be re-inserted before the radio will work.
Charging the Battery
Disconnecting the Battery * Before attempting to remove the battery pull the breather tube from the battery, remember to refit after refitting the battery.
* DO NOT disconnect the battery connections from the battery while the engine is running. This could damage the electronic components (e.g. the alternator ) beyond repair
* Switch off all electrical consumers
* Loosen and remove the negative terminal first followed by the positive terminal.
NOTE when the battery is removed the ignition lock Cannot be turned
Reconnecting the Battery * All electrical consumers must be switched OFF
* Connect the positive terminal first followed by the negative,
*MAKE SURE THE BATTERY TERMINALS ARE NOT ACCIDENTLY INTERCHANGED
After reconnecting the battery the following operations will be required.
*Re-set the clock.
*Where appropriate enter the radio code.
* Reset the side windows
*Reset the ESP system
Editorial status;-30.04.2001 page 301.>
Please note. Following a number of instances where the ECU management light lit when the battery was reconnected, with the result that a visit has to be made to a garage with start diagnostics equipment to delete the light, It was suggested to one owner who suffered the problem, by the MB Service centre that in future the owner would be well advised to turn his side lights ON prior to reconnecting the battery, he was told that this action would reduce the surge of power going to the ECU when the negative terminal is connected. IT certainly sounds logical to me, I leave it up to owners whether they follow this advise, but unless you have a very helpful garage owner it could cost 2/3 the cost of a new battery just to get the ECU lamp fault deleted.
Next.
Back to Index,
Purchase DVD.
Please Make a Donation.