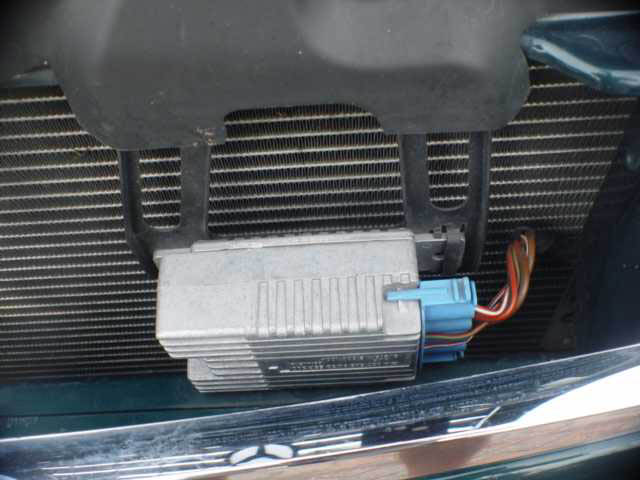
This is a piggy-back control unit controlled directly by the engine control unit that solely operates the cooling fan for the radiator. The fan control unit receives a signal from the engine control unit telling it how fast to turn (it is operated in about 8-10 stages), and hence its cooling effect. The fan control unit is separate from the engine control unit in case of a component failure: it has a direct 12v feed from the battery and if it fails to receive any signal from the engine control unit the fan will run at full speed to ensure the engine does not overheat. Thank you Nick I thought it was something planted on my car my by MI5, after all there is nothing in the handbook!
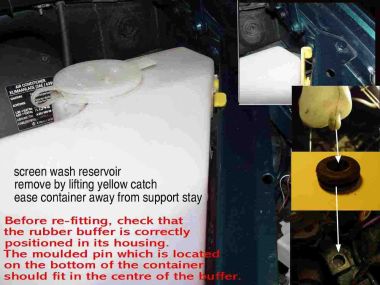
To replace your headlight bulbs you will need to remove the Screen Wash Reservoir pull the yellow lever into an upright position and the container can be removed from the support rail take care not to stretch the hose or the pump could be dislodged or damaged. For details of contents go to DIY Service/Checks. When you replace the container ensure that the black grommet is in position, it locates in a square block beneath the container. see inset photo.
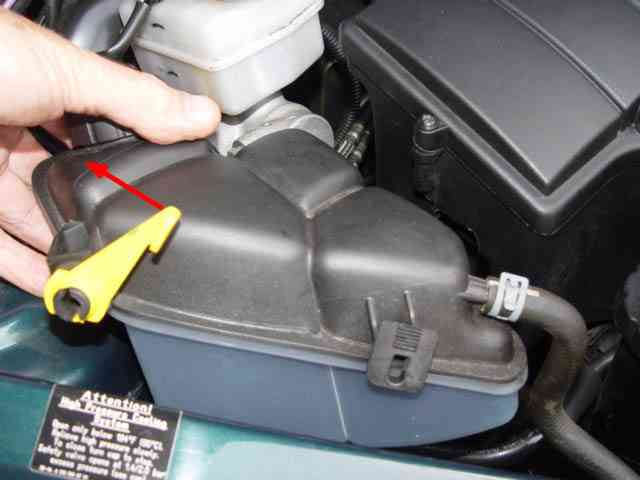 The procedure for removal of the coolant reservoir is the same as the screen wash reservoir except there is no support beneath the container. When removing take care to ensure undue pressure is not put on the hoses and spigots. Move the yellow lever in the direction of the arrow to lock.
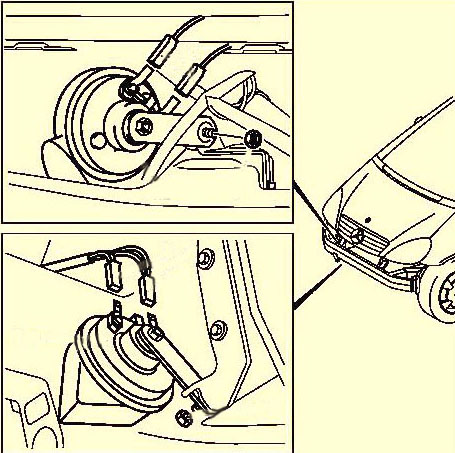
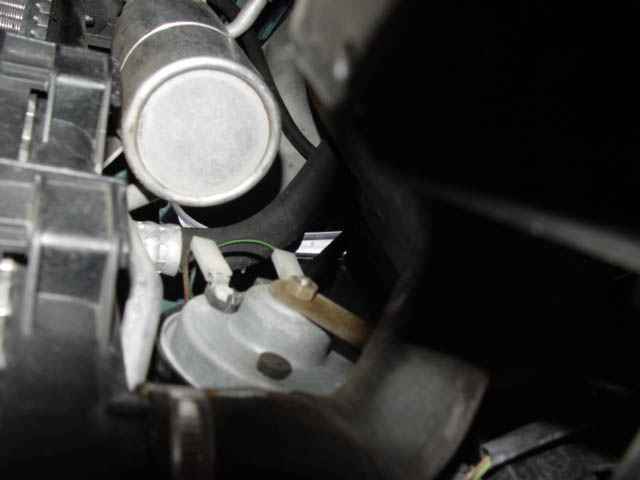
Location of Horn/Fanfare!
They are located on the o/side of the car situated almost behind the lower bumper valance O/S area find the cylindrical container for the air con and they are in that area. it is serviced by fuse 17 15amp and a relay shared with the ESP, located in the engine bay.
Try locating the horn when it stops working an almost impossible task, ask Rajchana a baby-benz.com member, he had real problems. he couldn't find them and nor could I, until I went for another look round under the car, then while looking at a photograph I'd taken I spotted one, I could just see the tell tale of a standard horn. Got the wife to give it a quick blow and yes there it was tucked up behind the dryer unit. At present I've only found one, However Chris a fellow owner has contacted me and pin pointed the second horn . One operateds at 400Hz the other at 500Hz between them you should have a good solid sound
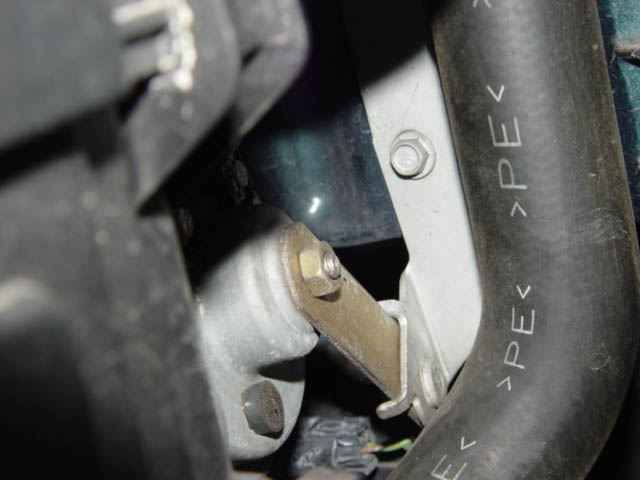 The horn is secured on it is bracket by one nut, plus of course there are two spade connectors to remove. Some horns when they stop working can be adjusted by a nut & locking nut, set in the centre of the metal diaphragm on the front of the unit, dirt gets behind the diaphragm and stops them functioning, clean it out, re-adjust while connected to a 12 volt battery wearing ear protection and away they go, I am unsure as to whether this is possible with the unit fitted on the 'A' Class, modern technology says No.
 Another point worth bearing in mind , when William had a problem where both his horns stopped working , fuse, relay were fine He had the car checked and the clock spring had failled . New clock spring and all was well, but a costly repair at £170+
 Polish
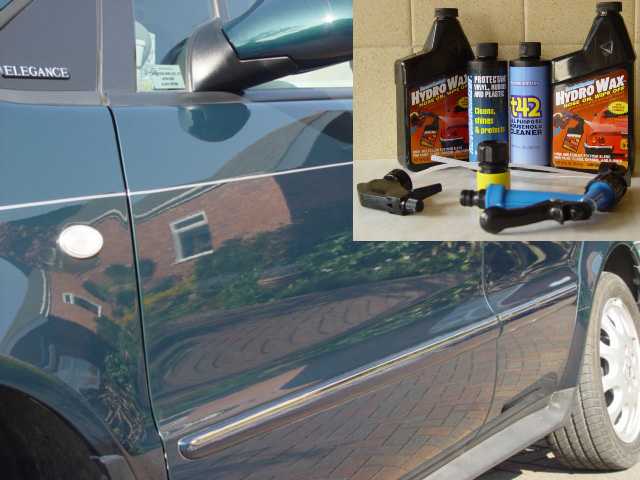
Advising owners on what type of polish/shampoo to use is a bit like telling them what car to drive. I recently purchased some polish from QED Hydro Wax, I've used it now for 6 months and am still very pleased with and its so easy to apply, some members of the BB. Owners club, had used it but didn't like the way it got into the cracks and crannies, well look at it as protection, where there is wax there is vary rarely rust? I'm very pleased with it is performance. the complete kit with applicator was about £25.00 and that should last the year, dependent on how many applications you use have found that it last about eight weeks has had an effect on the wipers in the they are smoother and quieter.
Give your car a coat of Hydro Wax and you will get twice as many flowers in your garden, just park your car and look for the reflection!
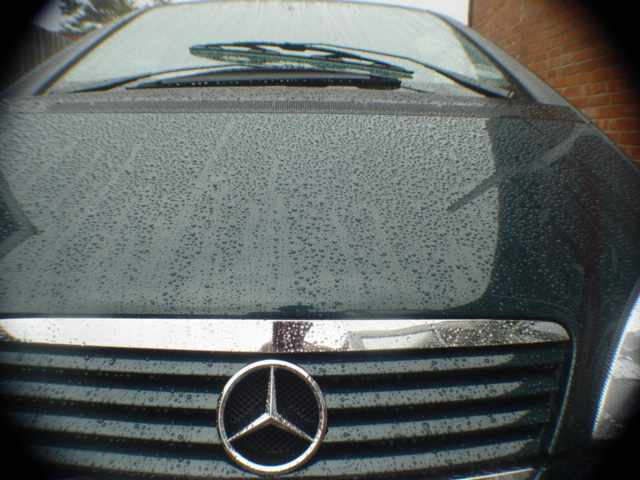
This photograph proves two things, 1 my cars paintwork is well protected and 2 it is raining ! And on the South Coast South of the South Downs we need it!
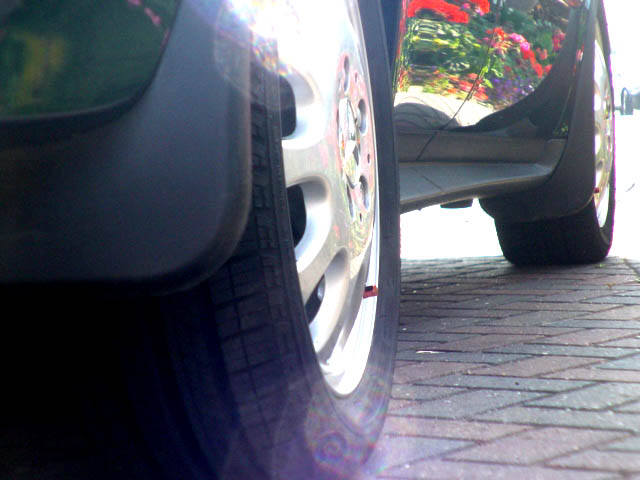
Mud flaps
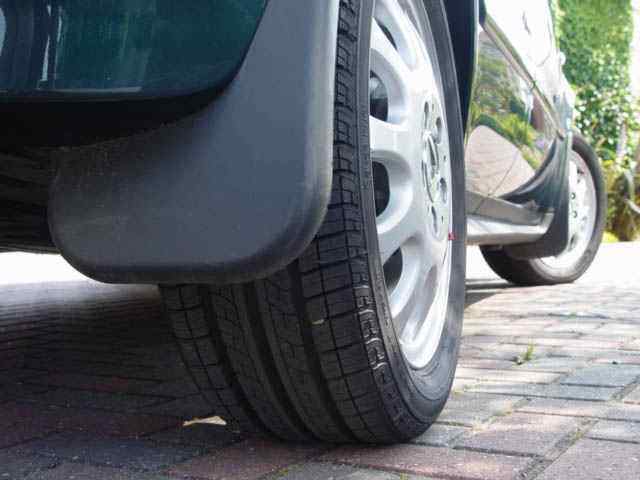
The name doesn't even inspire one to take a look, but they are very practical they do keep a lot of the road filth of the back screen and they are easy to fit, albeit mine were fitted when I got the car. They have clips that hold them on and to date have not worked loose like so many you see at the roadside. although you will see that the Accessory booklet shows them fitted with studs that go through the edge of the wing ! not a good idea.
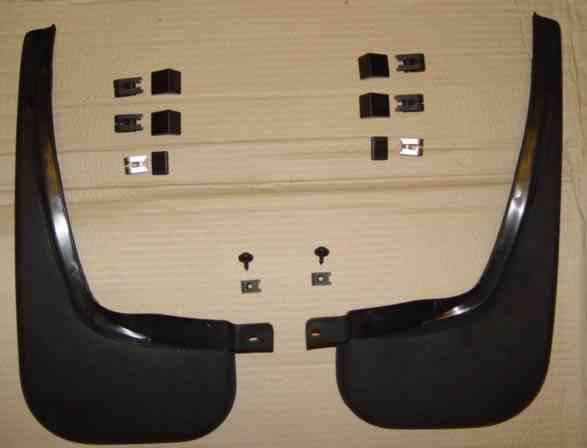 The rear mud flap kit comes complete with the flaps, clips and self tapping screw with speed nuts. They are very easy to fit and do keep a lot of fifth of the back of the car.
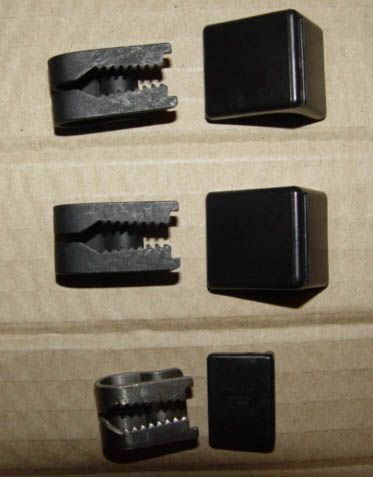
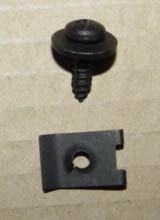
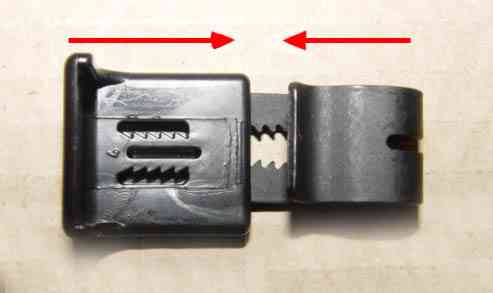
Fitting the clips is easy although it easier if the wheels are removed, the blade of the clip is slid into the plastic sleeve the two components are then clamped together with suitable grips in the location indicated on the flaps. I found pipe grips ideal as they opened wide enough to grip the two components and clamp them fully home which very efficiently clamps the flap to the profile of the rear wing. Once these are in position the location for the self tapping screw and speed nut becomes more obvious. You may need to drill a small pilot hole for the screw but this can be done with the flap in location.
Next.
Back to Index,
Purchase DVD.
Please Make a Donation.