
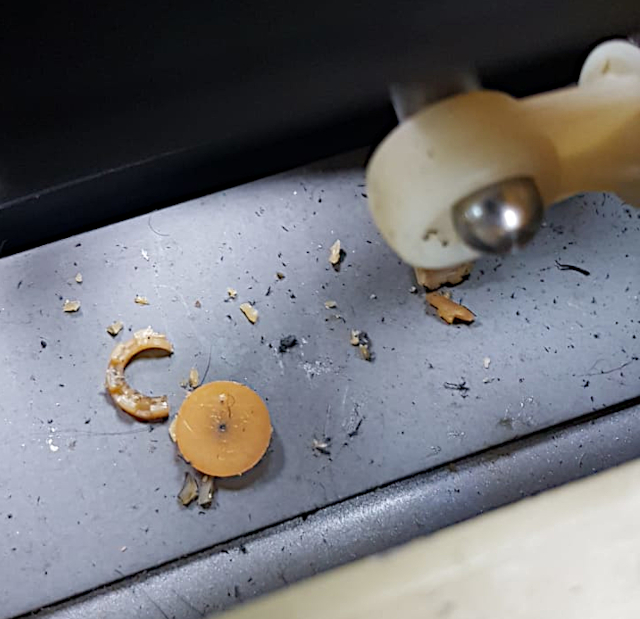
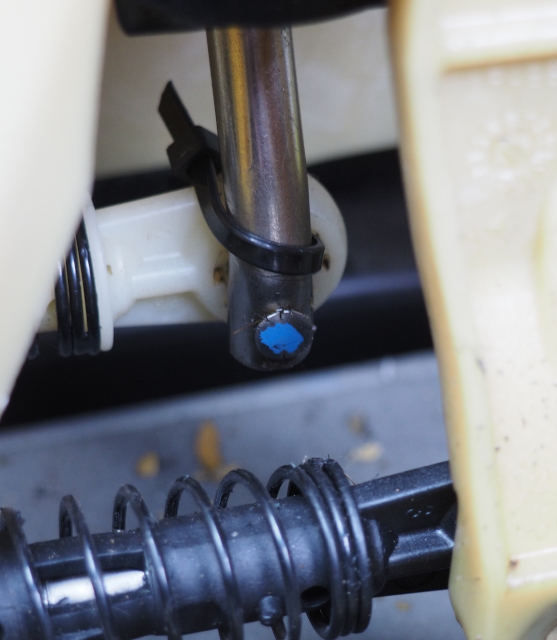
 Gear bush debris
As you can see from the photo, these gear cable linkage bushes wear out and disintegrate.
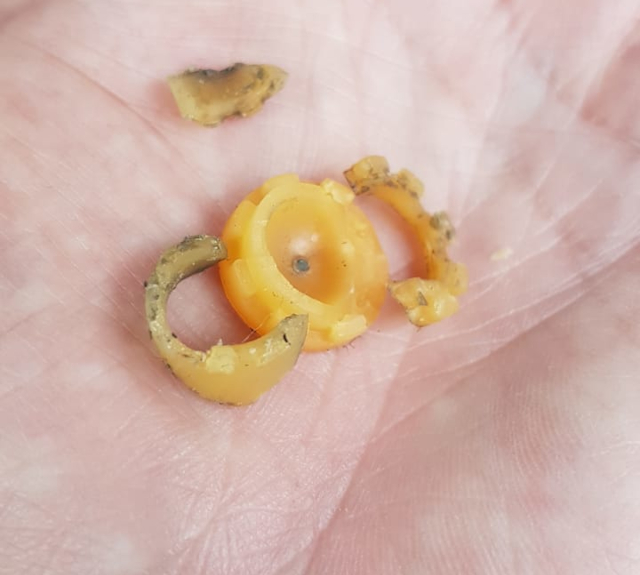
Gear bush debris
As you can see from the photo, these gear cable linkage bushes wear out and disintegrate.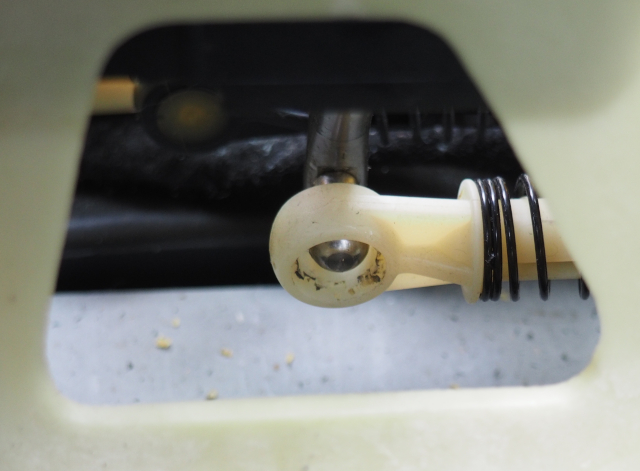
.jpg) Trim removal
Trim removal.jpg)
 Ash tray trim
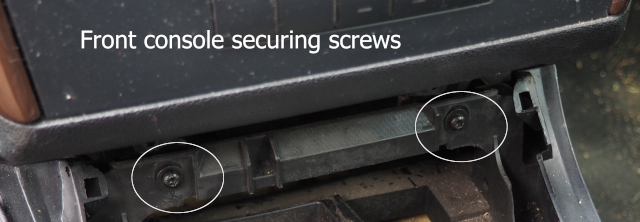
 Rear console. Front console.
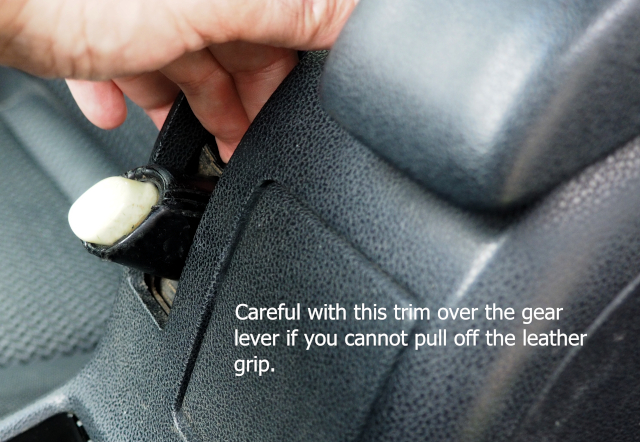
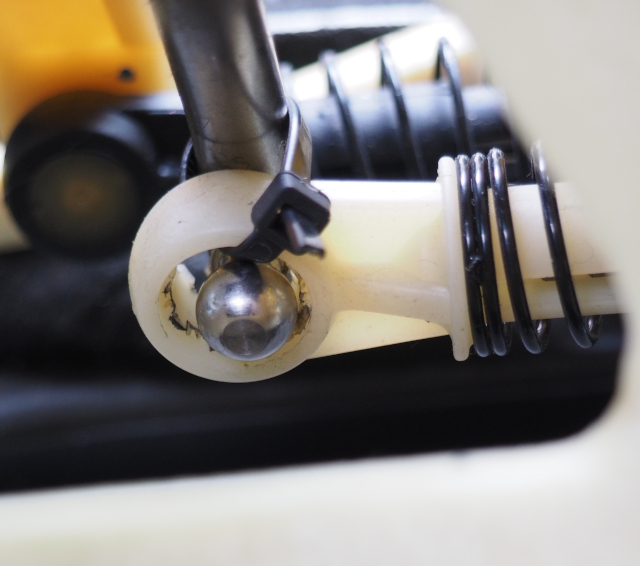 If you want to do an emergency/easy/cheap/fast fix with a cable tie, this is all you need to do for now as you can get your fingers in under the gear pedestal to secure a cable tie to the eye which has a collapsed bush and tie it to the gear lever or to the side activation arm.
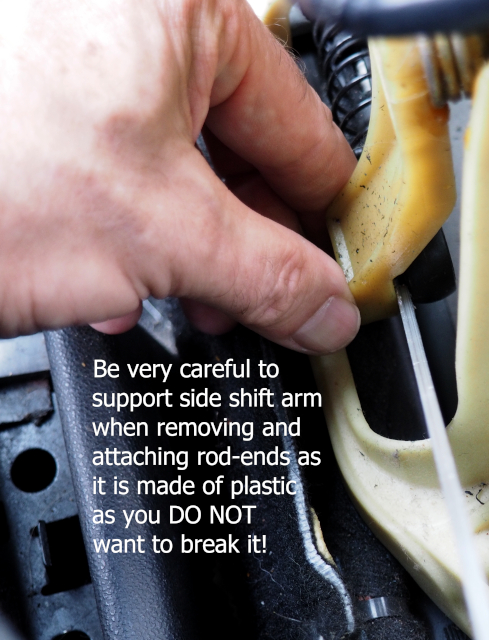
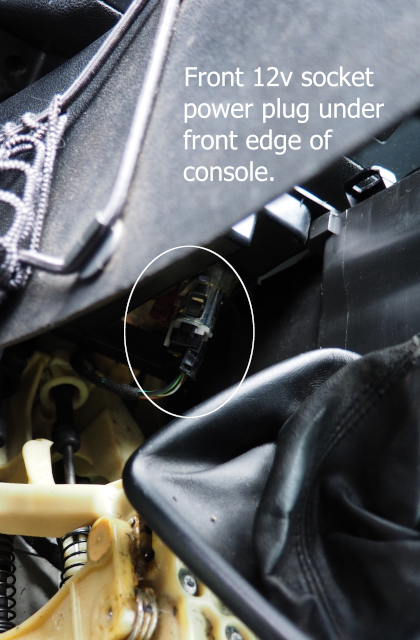
 Pull away the sound deadening pad under the middle console so that you can see the cables where they run forward to the firewall. I am reasonably slim and could barely get my fingers into the space. Your mileage may vary.
 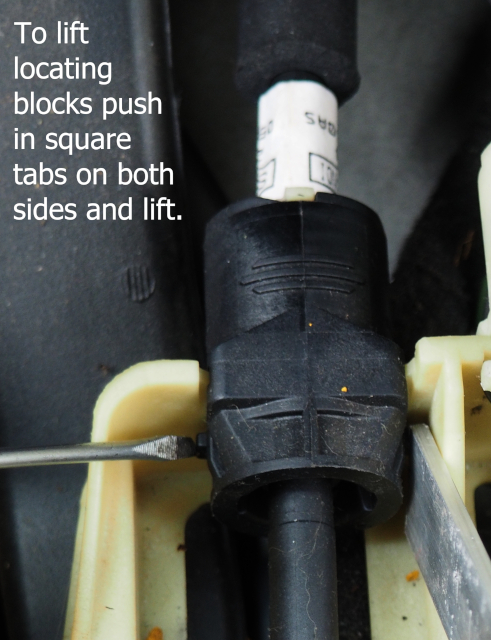 Locator block
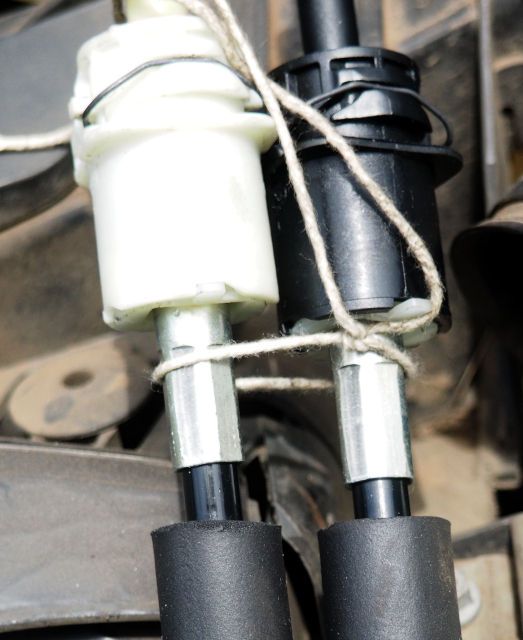 String
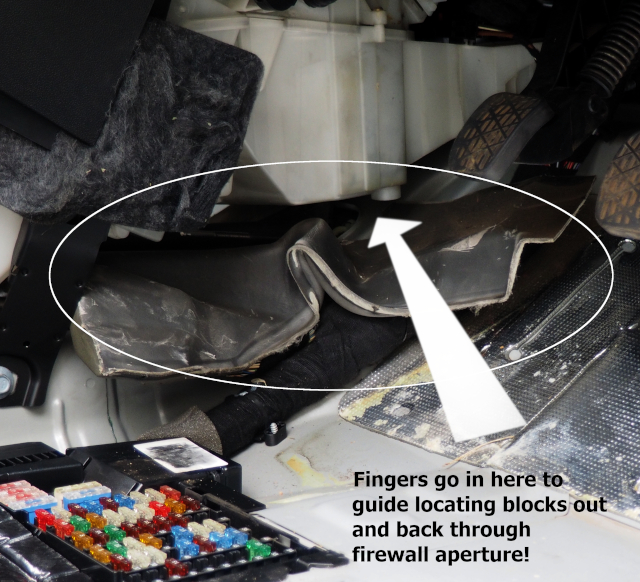
 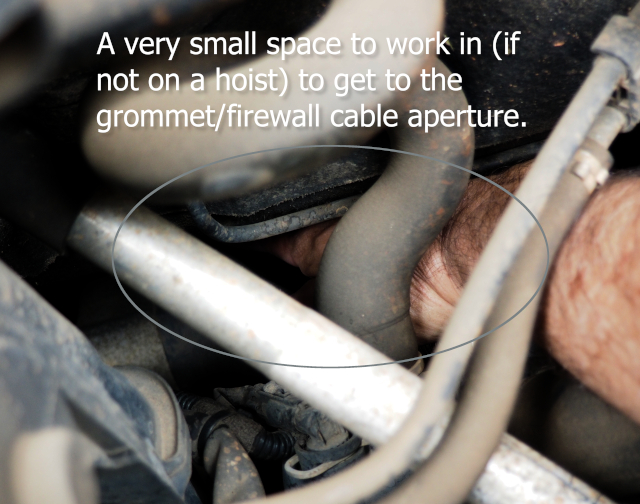 Grommet access