
The 'A' Post on both the W168 and w169 'A' Class causes a major blind spot, a dirty of windscreen only adds to the problem.
This photo was taken from the end of my driveway where I join the main road.
In this instance a Royal Mail Transit van is almost totally obscured by the 'A' Post, that combined with a dirty, in-efficiently wiped screen could cause a serious accident.
The drivers head position can be adjusted to overcome the 'A' Post problem but will not overcome a badly cleaned screen or indeed side windows.
Side windows are obviously not fitted with wipers, however if the side window is lowered and then raised water droplets on the window will be wiped off making driving much safer.
Do not drop the window completely or water from the window will come into contact with the fabric inner door lining which will eventually stain the fabric.
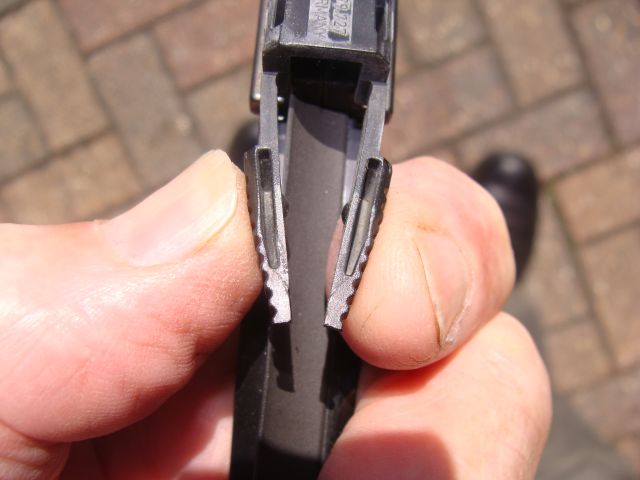
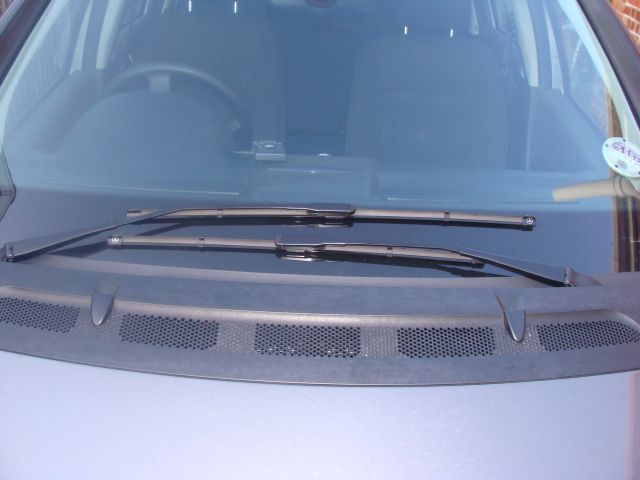
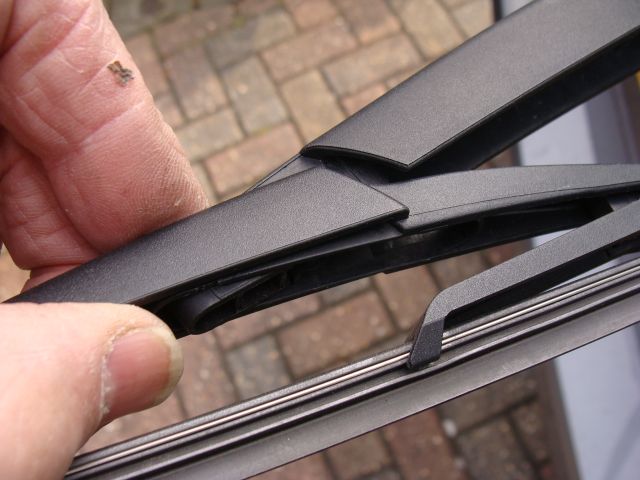
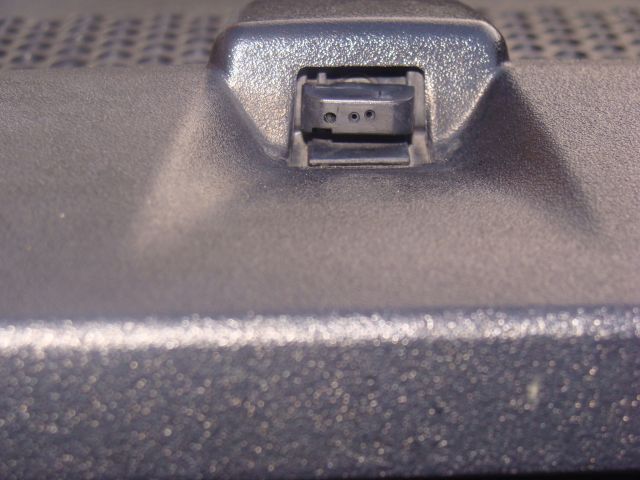
To remove the blades from the wiper arms these two flexible plastic sections need to be moved towards one another this will enable you to remove the blade.
The same procedure is used when refitting either used or new blades.
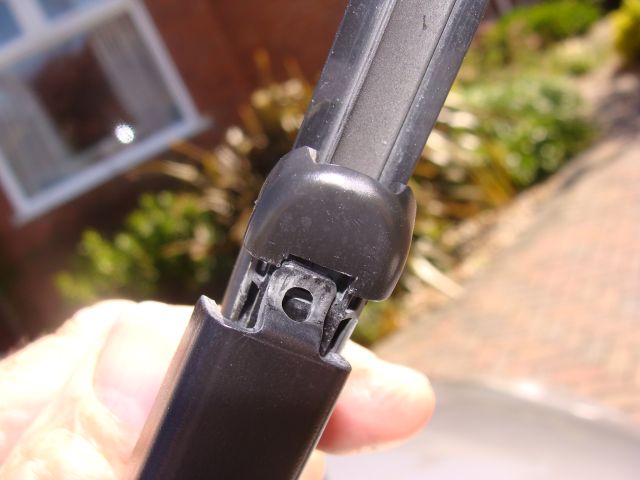
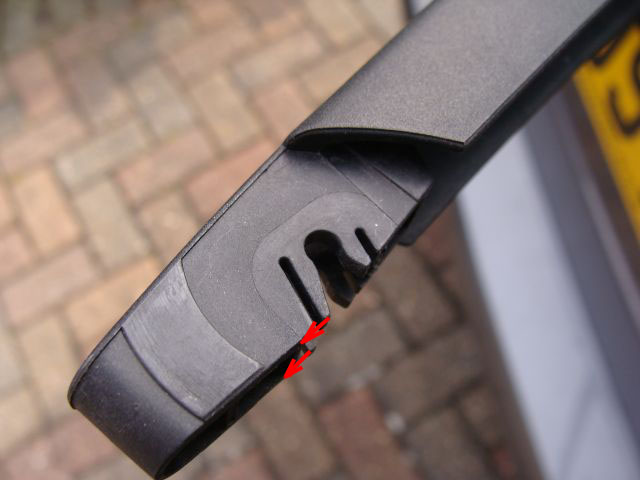
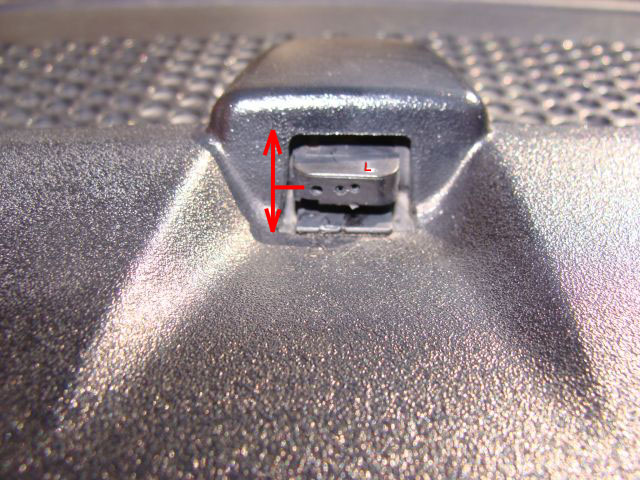
When fitting the blade to the arm simply insert the spade into the access slot on the top of the arm

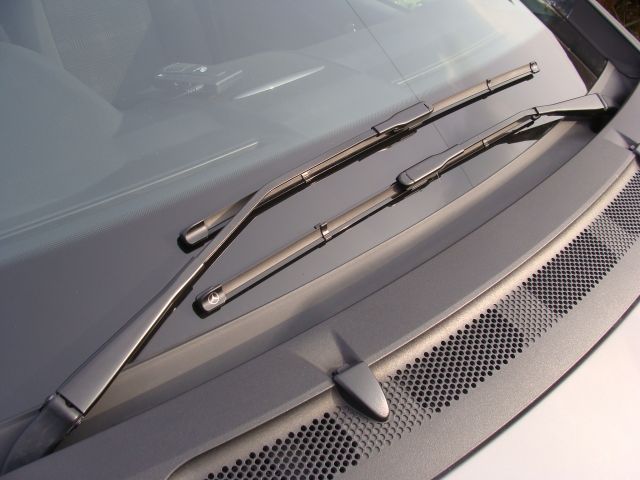
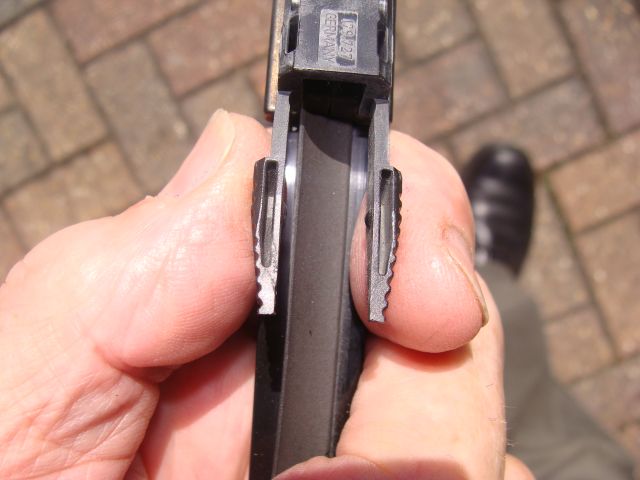
These two sections are coupled when the blade is correctly fitted.
Avoid working on plastic parts when the weather is very cold or freezing as parts will become brittle and snap off.

This blade is correctly fitted.
It is worth noting that fitting these blades is far easier than on the W168 MB blades and arms.
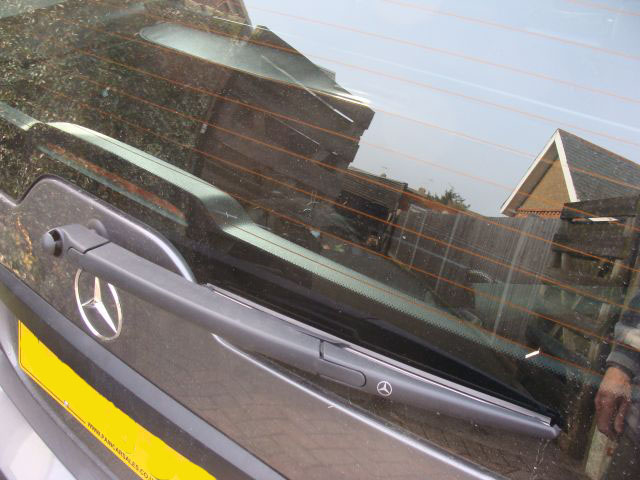
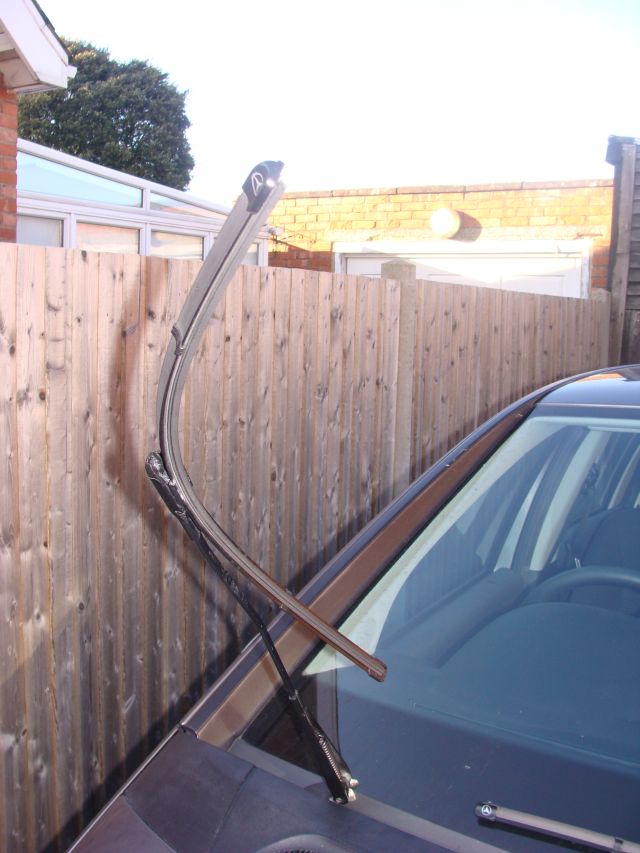
Rear screen Wiper
Rear screen wiper Blade and Arm
This blade is also of the flat blade type
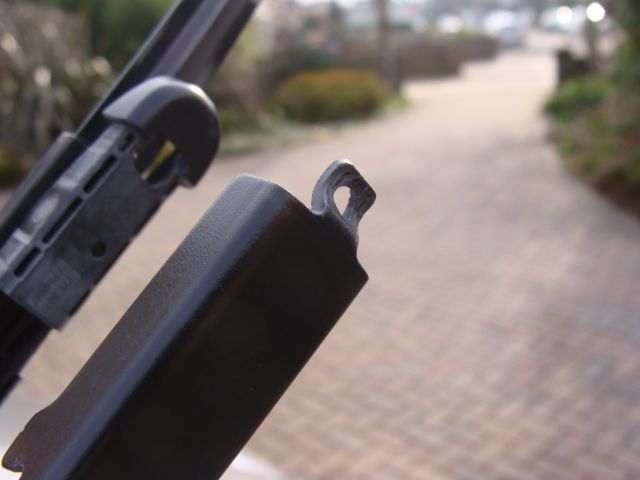
To remove the blade from the arm ease the two legs back in the direction of the arrows this releases the blade from the arm

When replacing the blade on the arm the centre axle/pin should engage with a 'click.'
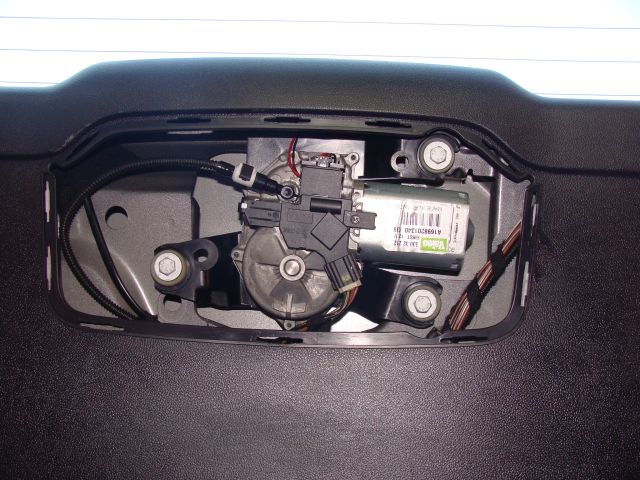
The rear windscreen washer motor is easily accessible by removing the plastic panel from the 5th door card.
Windscreen Wipers Front and rear.
Screen washers front and rear .
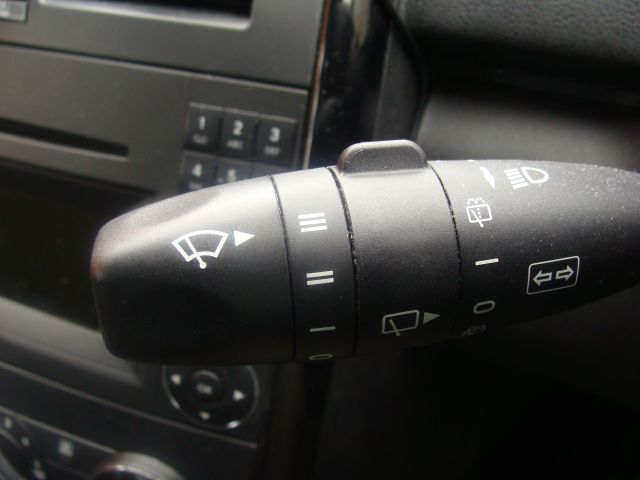
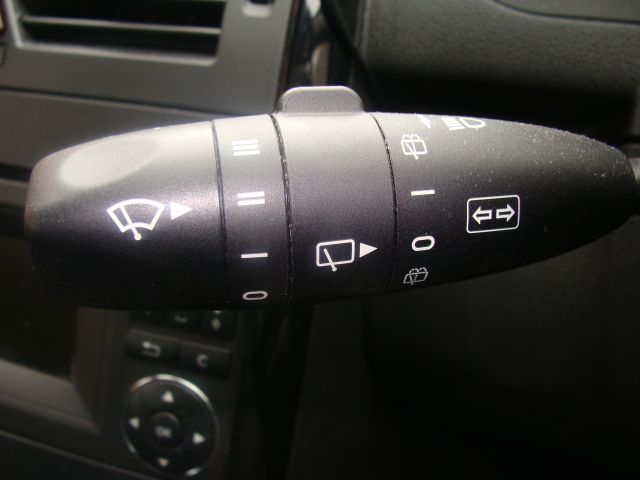
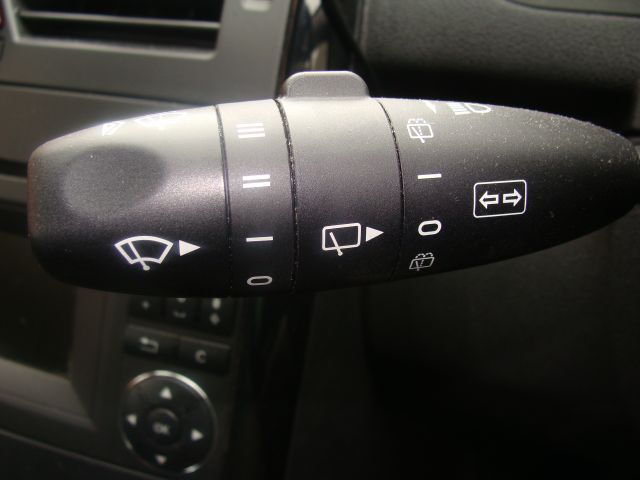
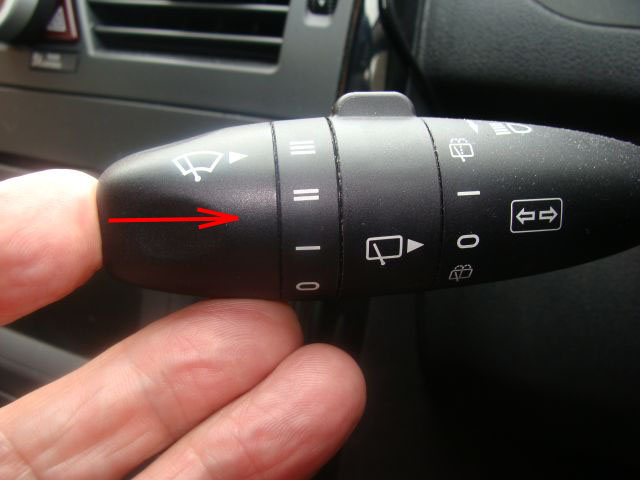
The controls for the windscreen wipers are combined with the combination switch The wiper motor has three speeds selected on the switch.
1. Intermittent wipe ideal for light rain and mist, approx 12 wipes per minute ,
2. Suitable for continuous rain when travelling at average speed 30-50mph, approx 34-36 wipes per minute
3. For heavy rain, or when travelling and speed, on motor ways with heavy spay from commercial vehicles 40-44 wipes per minute.
Front windscreen washers
The front screen washers are operated by pressing the switch in towards the steering wheel.
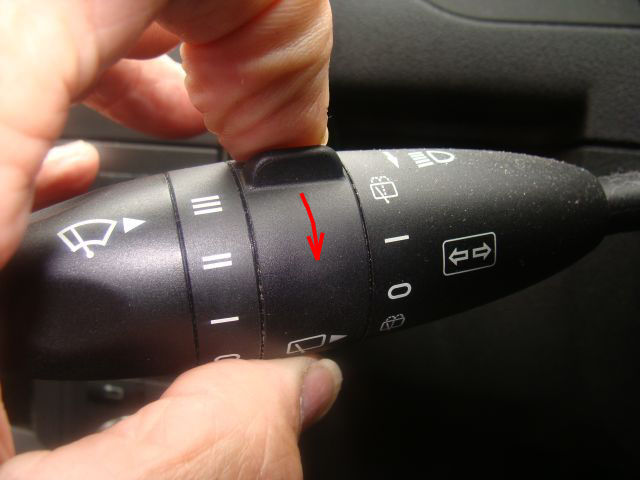
The rear washer is operated by turning the segment of the switch towards the driver.
In Both cases, Front and rear, the wipers will automatically activate when the screen wash facility is used.
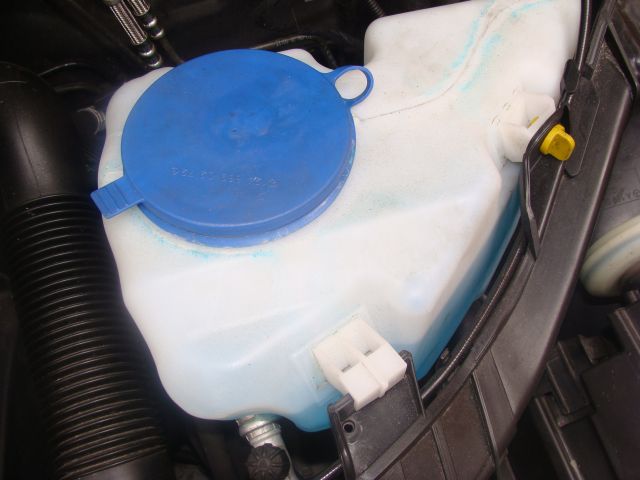
Both front and rear screen washers are supplied from the same reservoir, situated to the right hand side of the engine bay.
Different manufacturers screen wash fluid should not be mixed in some cases they may coagulate, causing blockage of the washer jets

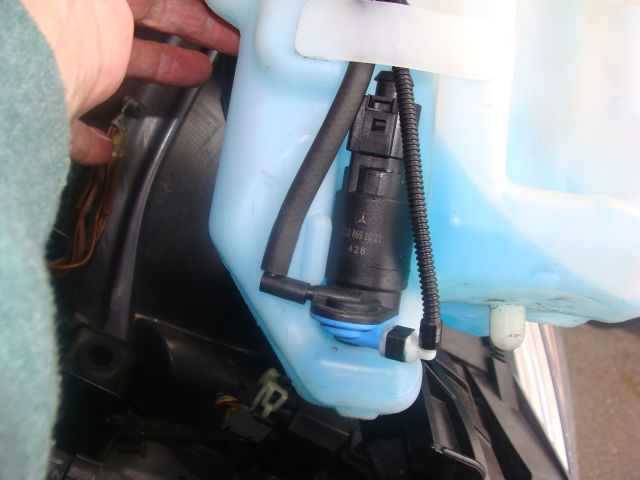
The washer pump is situated in the side of the reservoir, with hose attached to supply front and rear washers.
A. Pump
B Front washer hose
C Rear washer hose
To replace the pump simply pull it from its housing, take care not to damage the hoses.
The hollow spoke on the base of the motor sits inside a rubber grommet, if leaks are experienced replace the grommet/seal.
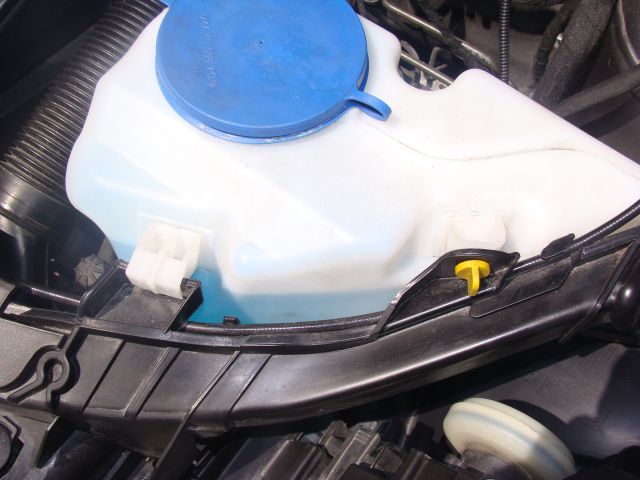
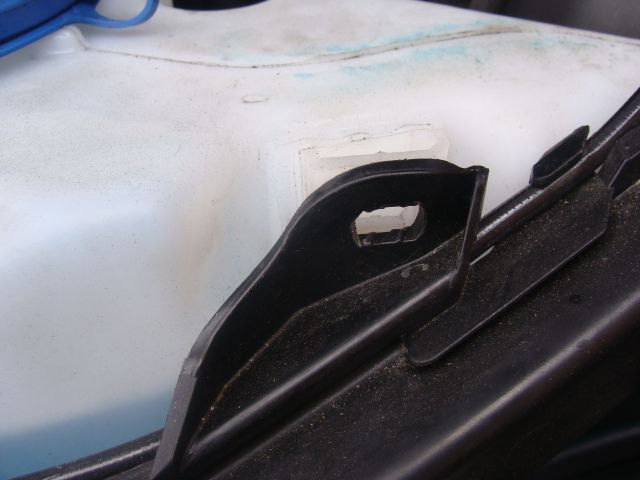
The reservoir secured by the yellow button on the front of the cross member, as well as being secured at the base.
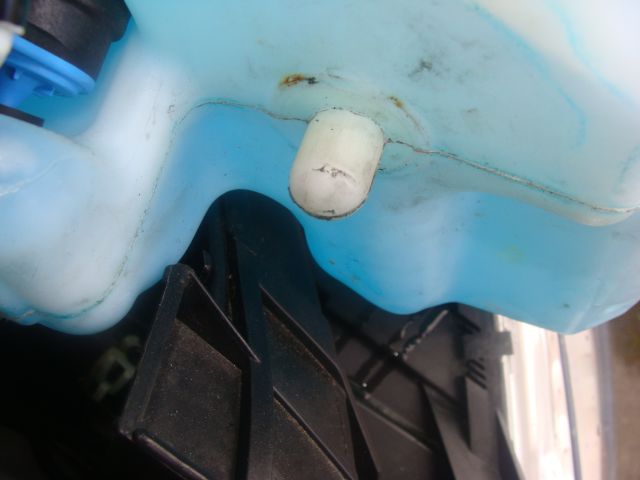
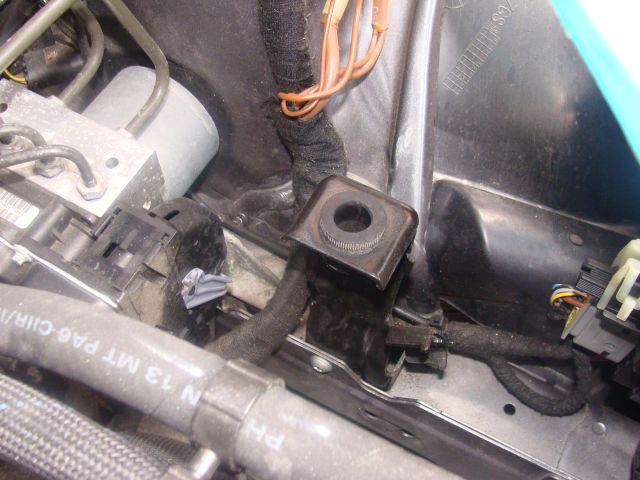
The base of the reservoir is secured by the projecting plug on the base of the reservoir which locates into the hole of the support bracket
In the case of my car , only three years old this grommet was missing creating a situation where the reservoir could become damaged and was able to move around while driving.
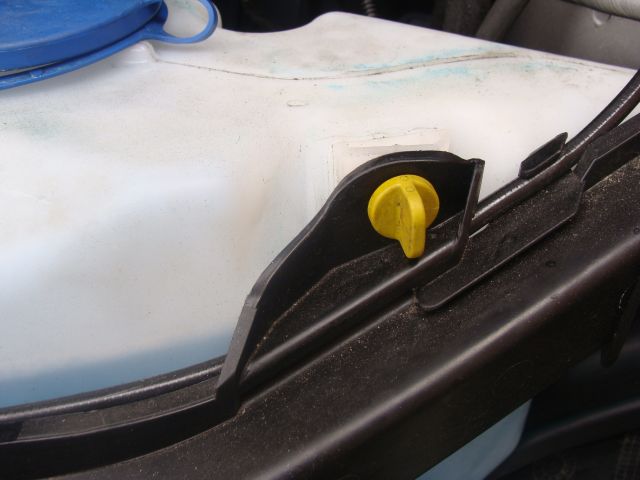
The reservoir can be removed for cleaning or for getting at components situated below by turning the yellow locking tab ant-clockwise this will then allow you to remove the reservoir . It is not recommended that you remove the hoses from the pump spigots, drain the reservoir and then ease the pup towards the top of the reservoir until it leaves the grommet. Stow/secure the pump in such away as to prevent damage to the hoses.
Front washer jets , situated either side of the windscreen , On the classic SE model it does not appear that these are heated as on the w168 Elegance model, It may be that they are on the higher spec models.
Either way you are advised to use screen wash fluid that resists freezing during the winter months.
Clearing of washer jets , an ideal tool is a primus stove , jet picker, do not use pins as you will damage the nozzles.
there are three outlets in each of the front screen wash nozzles.
If nozzles continuously block , wash out the reservoir and clear the washer tubes.
In extreme cases it may be necessary to replace the nozzle unit complete.
The spray can be positioned on the screen by simply moving the jet housing up or down.
These are marked L & R and should not be interchanged or the spray will not strike the screen in the correct pattern.

On the rear the jet is integral of the wiper arm and only one outlet is present.
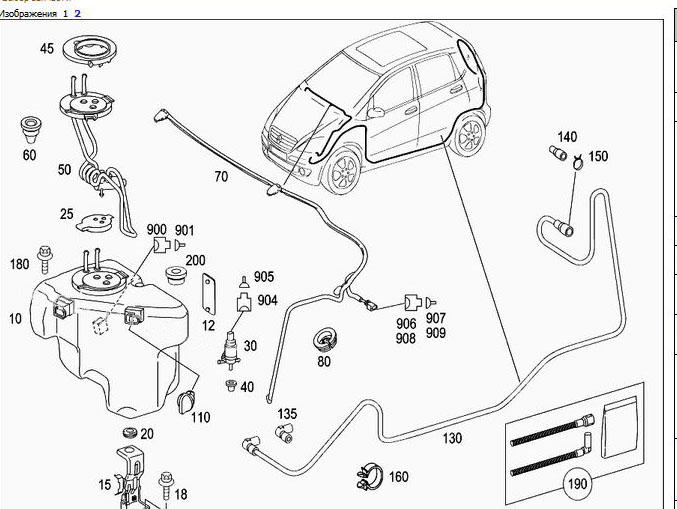
Although this breakdown shows the windscreen washer reservoir and component parts it is not as is fitted to my car .
This assembly appears to show a Heating element which fits into the reservoir thus heating the liquid contained in it, this would explain why heated windscreen nozzles are not fitted as standard on the W169 as with previous W168 models.
It is apparently available as optional extra along with the bi-headlamps
In my opinion this would not be as effective as the electrically operated heated nozzles as the engine would
In the case of my car the reservoir is simply fitted with a large plastic cap.
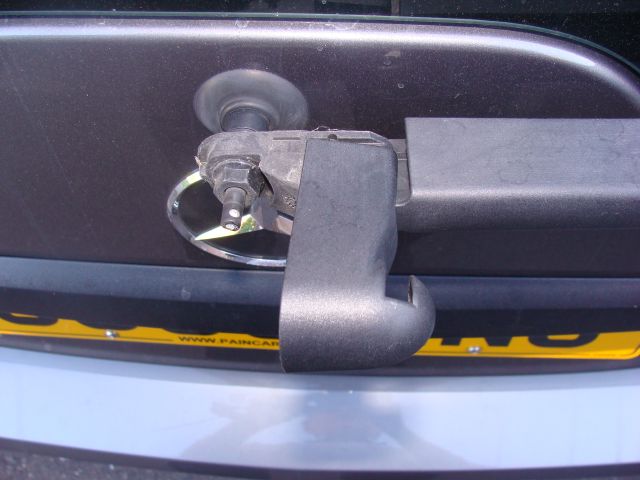
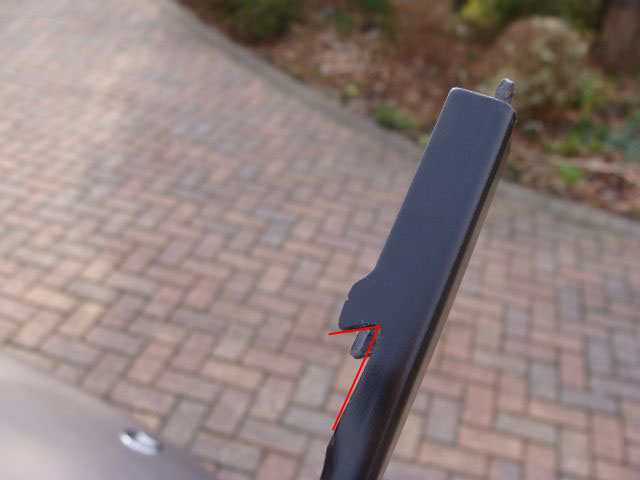
To remove the rear arm from the drive spindle the cover needs to be raised from the arm.
Next
Back to W169 index
Return to lofty's Homepage
Purchase DVD
Please Make a Donation.