Cleaning or replacing the engine air filter on this model is very simple indeed two 'Torx' scre3ws and 1 clip It couldn't be simpler the whole job will take no more than 10 minutes even if you have never done it before so what pay a garage ££££to replace something you can easily do yourself.
Tools required:-
1. 1 x T20 'Torx' bit to undo 2 screws* and replace, along with a suitable holder either ratchet or screwdriver.
2. New Air filter. Part number 2660940004 Cost £11.90( 02.01.2013) Type Mercedes Parts
Procedure
First raise the bonnet locate the air filter housing .
At this point you may find that the square rubber gasket fitted into the groove around the lid becomes partially pulled from the groove around the air box , this can be removed and replaced when the filter is replaced. Do Not Use any form of bonding agent.
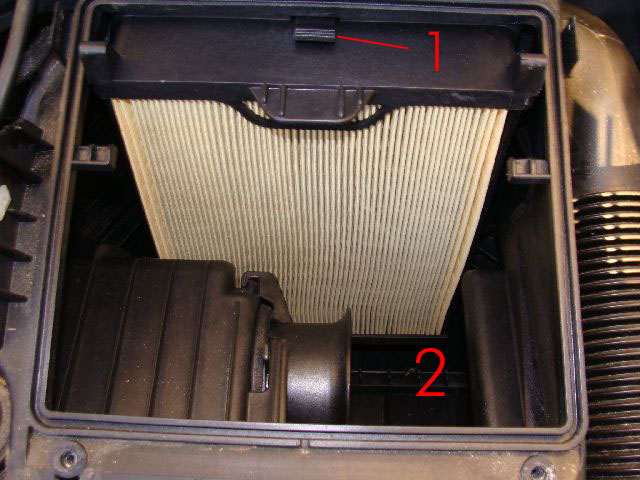 Lift the cover to expose the air filter housing.
Press the black clip 1 centre of the housing down, this will release the filter support and enable you to remove the filter complete with plastic support from the clean air chamber 2.
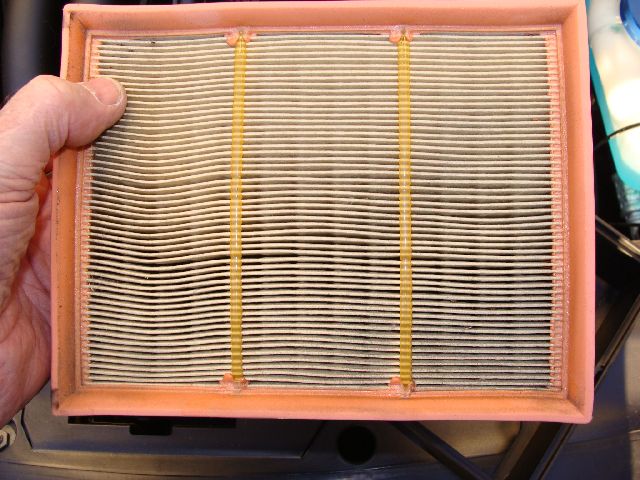
The filter is now easily withdrawn from the plastic surround , if inspecting or cleaning handle with care, or if replacing, discard.
Clean using an airline blowing air through the filter i.e. against the normal flow of air
The side shown in this photo is the side is forced through
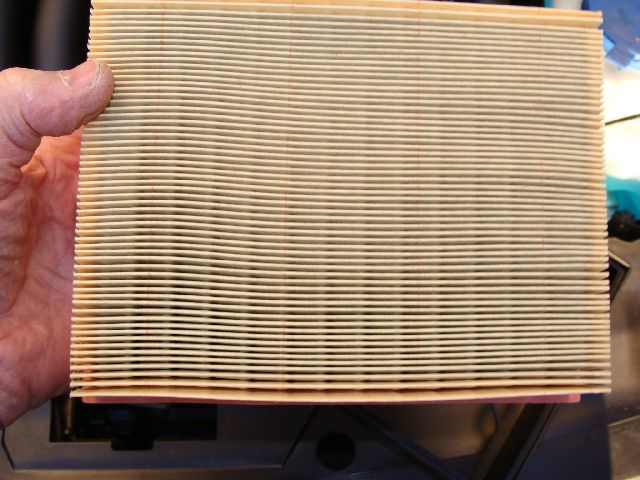 Therefore if you wish to blow out any trapped dust particles you would need to use the airline on this side. Remember a dirty or blocked air filter will increase the amount of fuel your car uses.
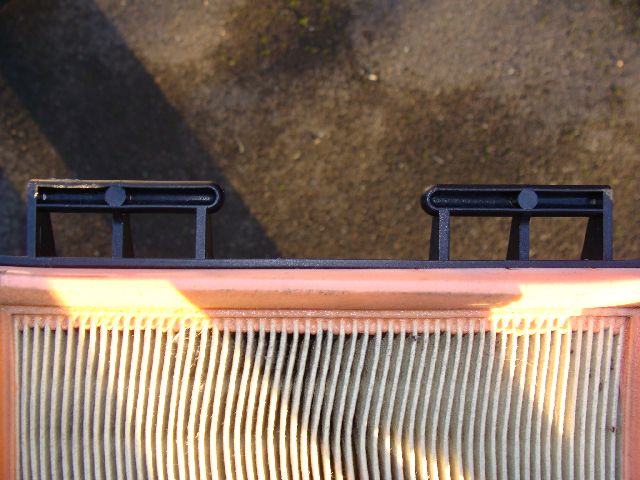
Chec k that the internal surfaces of the filter housing are clean, wipe with damp cloth as necessary.
Having replaced the filter back into the black outer surround place in into the filter housing with two lower clips at the bottom these will locate into corresponding clips housings , then push the filter and outer housing towards the dash, you will hear as it lock into place.
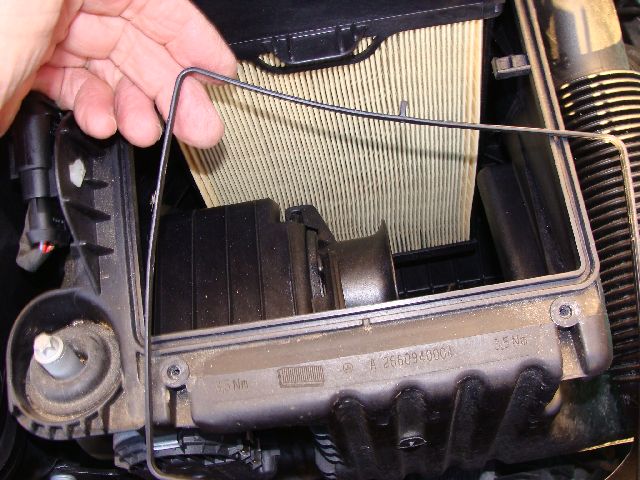
You are now ready to close the air filter housing cover. However before doing so replace the rubber gasket into the groove surrounding the housing with the tab located in the groove at the bottom edge
. This will ensure an air tight seal.
Close the lid of the filter housing.
Refit the two 'Torx' screws.
* These should only be tightened to 3.5 Nn. Bear in mind they screw into the plastic housing which is easily be stripped.
If filter has been replaced record the replacement on your DIY records.
Next
Back to W169 index
Return to lofty's Homepage
Purchase DVD
Please Make a Donation.